

Kiara Barnes Beauty
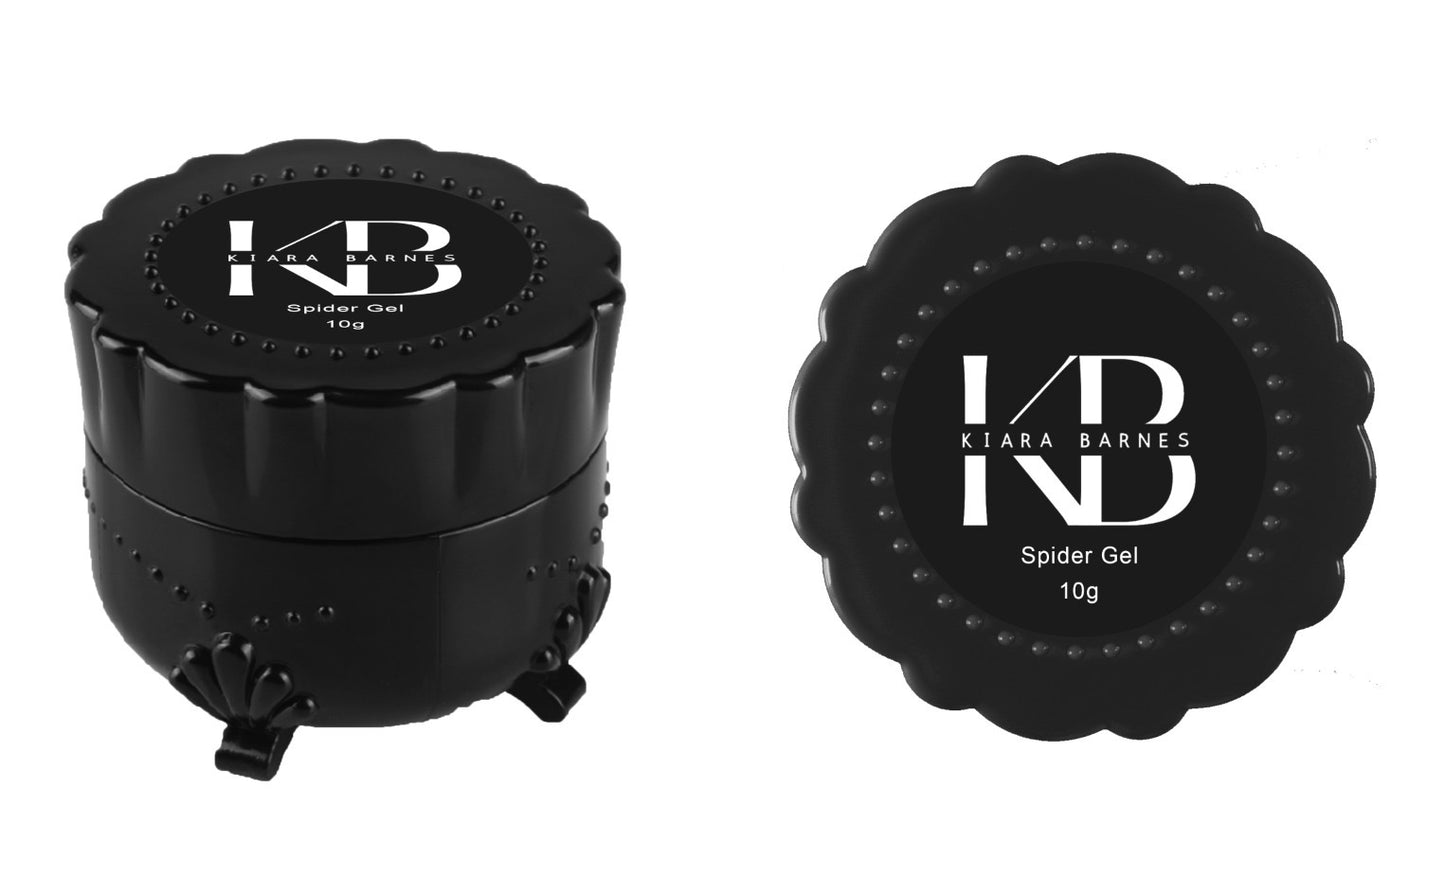
Spider Gel
Spider Gel
Couldn't load pickup availability
1. Gather Your Supplies: Before you start, ensure you have all the necessary tools, including spider gel nail polish, a base coat, a top coat, a UV/LED lamp, and nail art tools like a fine brush or dotting tool.
2. Prepare Your Nails: Clean and shape your nails as desired. Push back your cuticles and buff the surface lightly to help the polish adhere better.
3. Apply Base Coat: Apply a thin layer of base coat to your nails and cure it under the UV/LED lamp according to the product instructions. This will create a smooth foundation for your spider gel.
4. Apply Spider Gel: Using a fine brush or a nail art tool, pick up some spider gel and gently stretch it across your nail in thin strands. You can create various designs by varying the direction and density of the strands.
5. Cure the Gel: Once you’re satisfied with your design, place your nails under the UV/LED lamp to cure the spider gel. Follow the manufacturer’s recommended curing time.
6. Finish with Top Coat: After curing, apply a layer of top coat to seal your design and add shine. Cure it again under the lamp.
7. Final Touches: Once the top coat is cured, wipe off any sticky residue with a lint-free wipe and cleanser, if necessary.
8. Moisturize: Don’t forget to apply cuticle oil to nourish your cuticles and complete your manicure.
Now you’re all set to showcase your stunning spider gel nail art!